Anyone Thinking Of Throwing Out An Old Water Heater Should Follow This Guy’s Lead Instead

From copper pipes to entire appliances, we’ve all tried to relieve ourselves of junk while cleaning the house and maybe make a profit from it. But have you ever considered giving it a second life? One man did, and his DIY project might just make you take a second look.
After all, you know what they say about another man’s trench, but this man happened upon a rusty 200-liter water heater. He realized it wasn’t trash at all but a treasure no one else could see his vision. But he was determined to pull it off.

When you see how his DIY project turned out, you’ll want to find an old water heater of your own. Although this beat-up water heater would seem like nothing but garbage to most people, one man saw an opportunity to turn it into the DIY project of his dreams.
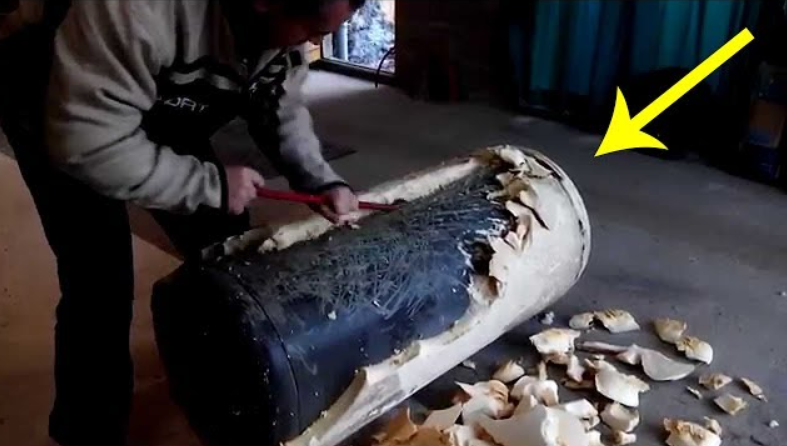
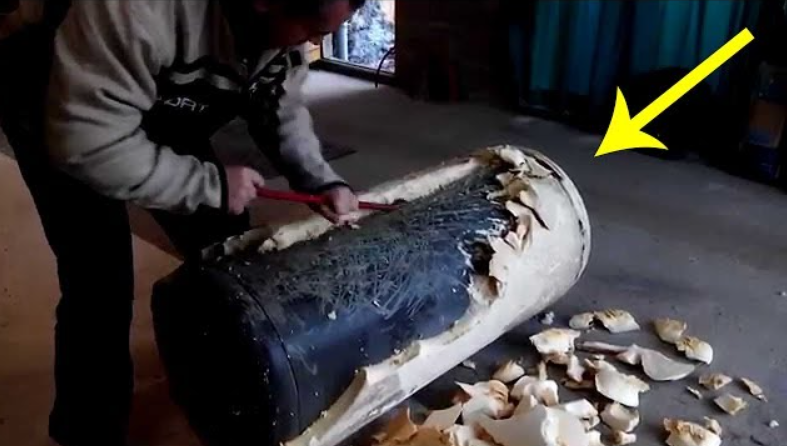
But before he could begin his project, he had to chisel the insulation off the water heater with a crowbar. Once the outer layer was fully removed, he began sanding down the heater. He wanted to be sure to get the surface as smooth as possible; this way, there was less of a chance that anyone would cut themselves on sharp shards of metal.
Once he’d sanded it down completely, he was left with what appeared to be an almost completely different piece of metal. You can see that the hot water heater had taken on a chrome appearance. To achieve this much polish, you’ll likely want to utilize a power sander.
For the next step, he cut a sort of door into the heater itself using a soldering iron. He measured the exact placement, leaving a little less than a foot on either side. Then he welded hinges onto one side so it could open. Can you tell what he’s building at this point? The project might have looked quite strange at this point, but just wait.
Next, he needed to make a frame and feet. He repurposed sections from an old bed frame and placed them on the bottom of the heater. Voila! They fit perfectly. Now it was time to get to the fun part. For the next step, the man placed and welded support grids into the inside of the heater. They rested about halfway between the top and the bottom near the door frame. You’ll see how they came in handy later in the process.
Next, the man used an old pipe to construct a DIY chimney. He welded together varying lengths of pipe into an L-shape vent. Afterward, he let them cool on a table as he prepared the project’s next steps. Any guesses as to what the chimney could be used for? Well, the makeshift chimney stood on his work table as the man got to work with his soldering iron. This time he started from the right end of the heater and cut a hole. It would fit a pipe. His DIY project was really coming together nicely.
Some of the final touches might just reveal what sort of masterpiece he’d finally constructed. Have the door handle and temperature gauge given it away yet, or is it still a mystery? If you guessed he was making a top-notch barbecue and grill, then congratulations, you’re correct! You can see how he even improved the grill’s mobility by placing two small wheels on the ends of the stands.
This way, he could keep it outdoors and easily store it in his garage when arranged. He built this just in time for summer barbecuing season. Clearly, if you’re looking to host barbecues with your own handy backyard grill this year, then this is the DIY project for you, and it costs next to nothing. Almost all food tastes better when it’s smoked. Thanks to this guy’s creativity, he’s ready to become the neighborhood pitmaster.


